Tool bags
 Tool Storage
 Made in USA
 Tool Bags By Trade
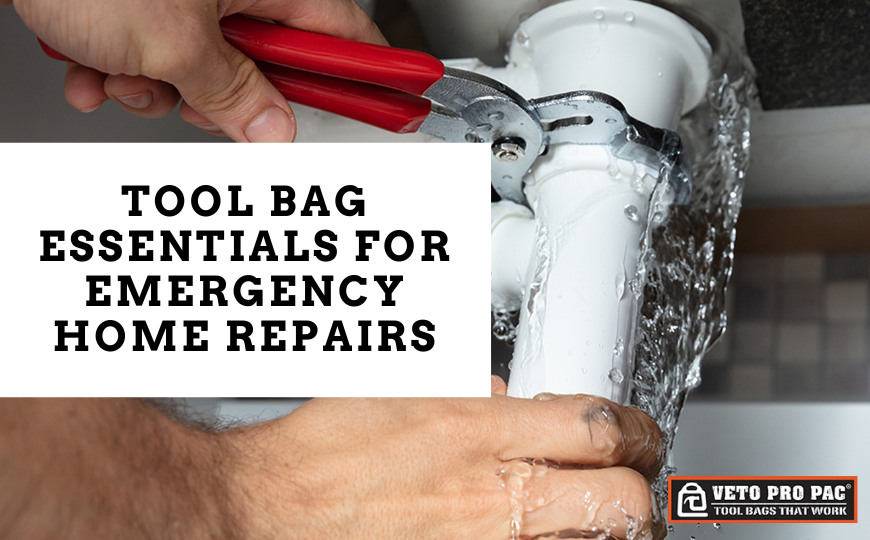
Whether it’s a leaking pipe at midnight or a door that won’t close during a storm, household emergencies don’t wait for convenient times. Having a well-stocked emergency tool bag can mean the difference between a quick fix and a costly emergency service call. Here’s your comprehensive guide to assembling the perfect emergency tool bag for your home.
Basic Tool Essentials
Every emergency tool bag should start with these fundamental items:
Hand Tools
- Adjustable wrench (8-inch)
- Needle-nose pliers
- Channel-lock pliers
- Standard screwdriver set
- Phillips head screwdriver set
- Hammer
- Utility knife with spare blades
Measuring and Testing Tools
- Tape measure (25-foot)
- Level
- Voltage tester
- Flashlight with extra batteries
- Work gloves
Specialty Tools for Specific Emergencies
Plumbing Emergencies
- Pipe wrench
- Plumber’s tape
- Slip-joint pliers
- Small hand auger
- Selection of washers and O-rings
Electrical Issues
- Wire stripper/cutter
- Electrical tape
- Wire nuts
- Spare fuses
- Circuit tester
Door and Window Problems
- Allen wrench set
- Small pry bar
- WD-40 or similar lubricant
- Wood shims
- Basic window screen repair kit
Additional Emergency Supplies
Safety Equipment
- Safety glasses
- Dust mask
- First aid kit
- Work gloves
- Headlamp or hands-free light
Quick-Fix Materials
- Duct tape
- Super glue
- Wood glue
- Spackle
- Assorted screws and nails
- Wall anchors
- Zip ties
Organizing Your Emergency Tool Bag
Proper organization is crucial for quick access during emergencies:
- Choose the Right Bag
- Multiple compartments
- Water-resistant material
- Comfortable carrying handle
- Sturdy construction
- Easy-access pockets
- Organization Tips
- Group similar tools together
- Keep frequently used items easily accessible
- Use smaller pouches for small parts
- Label compartments if needed
- Store emergency numbers in an outside pocket
Budget-Friendly Options
- Start with basic tools and add over time
- Watch for sales at hardware stores
- Consider quality mid-range tools
- Prioritize most common emergency needs
- Look for combo tool sets
Safety Tips and Precautions
Know Your Limits
- Recognize when to call professionals
- Don’t attempt repairs beyond your skill level
- Be aware of local regulations
- Never work on gas lines or major electrical issues
- Keep emergency service numbers handy
Ready to Build Your Emergency Tool Bag?
Don’t wait for a crisis to strike before getting prepared. Veto Pro Pac tool bags are specifically designed to keep your tools organized, protected, and easily accessible when you need them most.
Why Choose Veto Pro Pac for Your Emergency Kit:
- Heavy-duty waterproof base – perfect for plumbing emergencies
- Multiple specialized pockets for organized tool storage
- Weather-resistant materials to protect your investment
- Stabilized standing design for easy access during repairs
Frequently Asked Questions
What’s the minimum investment needed for a basic emergency tool bag?
A basic emergency tool kit can be assembled for $100-150.
How often should I check my emergency tool bag?
Inspect your tools and supplies every six months, coinciding with smoke detector checks.
Should I have multiple emergency tool bags?
Consider having a main kit and smaller specialized kits for specific areas like kitchen or bathroom.
What’s the most important tool in an emergency kit?
A quality flashlight and an adjustable wrench are typically the most crucial items.
How do I maintain my tools to ensure they’re ready for emergencies?
Keep tools clean, dry, and rust-free. Store in a climate-controlled area and check regularly.
Conclusion
A well-prepared emergency tool bag provides peace of mind and can save you both time and money when unexpected issues arise. While the initial investment might seem substantial, consider it insurance against costly emergency service calls and potential property damage from delayed repairs.
Pro Tip: Create a basic checklist to tape inside your tool bag for quick inventory checks and to ensure nothing important is missing when you need it most.